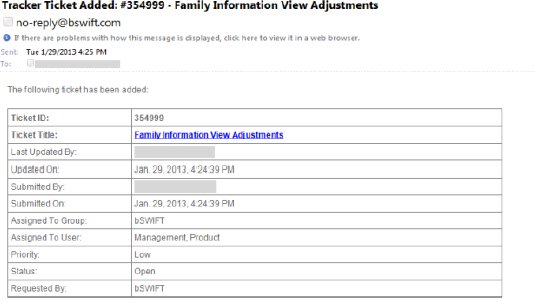
The Ticket Maintenance page consists of four sections: Ticket Information, Documents, Notifications, and Custom Fields.
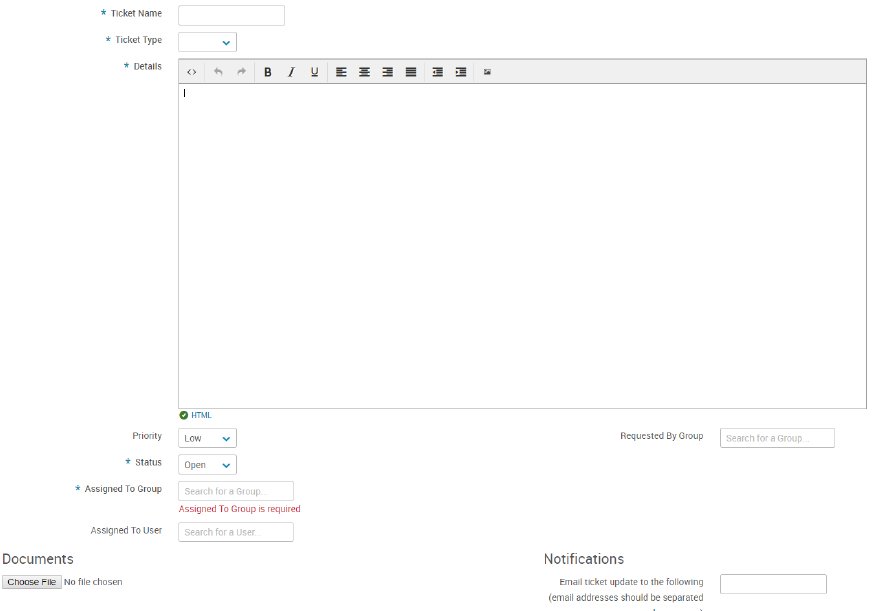
Ticket Information
This section includes the fields that provide the essential details of a ticket.
- In the Ticket Name field, enter a name to identify your ticket. It is recommended that names provide a brief description of the issue, request, or question.
- Choose a ticket type from the Ticket Type dropdown
- In the Details section, enter a detailed explanation of what the ticket involves. A WYSIWIG bar is available so that screenshots can be added and so that other formatting, like bulleted lists and bold/italic/underline, can be included.
- Prior to adding a screenshot in a ticket, administrators will need to save the image as a jpeg, .jpg, .png, .bmp, or .gif file. To upload it, click the Image icon in the WYSIWIG and select the desired image file. After the file is selected, it will appear in the ticket’s text. Images can be resized by dragging their borders to the desired size or removed by selecting the image and then deleting it.
- Update Priority and Status as necessary for the ticket.
Documents
This section allows users to attach files to a ticket, such as in-depth descriptions, screenshots of an issue, or enhancement specs.
To add a document, locate the Documents section and click the Browse button. Select the applicable document(s) to be uploaded.
Files exceeding 6 MB cannot be attached. There is no maximum on the number of files that can be uploaded to a ticket.
Notifications
Notifications allow administrators to alert other users via email whenever a ticket is created or updated. Email addresses must be separated by commas.
Notifications will automatically be sent if the ticket is assigned to the user, or if the ticket is assigned to the user’s group but not a specific user within the group. Additional people can also be issued notifications by having their email addresses added to the ticket.